 This page shows the installation of Oracle Database RAC 11.2.0.4 which I performed as part of the Oracle Linux 6.7 with Oracle 11.2.0.4 RAC installation cookbook.
First we run the installer, making sure to unset any Oracle environment variables which might interfere with the installation process (to be honest I should also check the PATH environment variable here but I happen to know it’s not got any Oracle stuff in it):
[oracle@dbserver01 ~]$ unset ORACLE_HOME ORACLE_SID LD_LIBRARY_PATH
[oracle@dbserver01 ~]$ Install/11204/database/runInstaller
Starting Oracle Universal Installer...

Checking Temp space: must be greater than 120 MB.   Actual 44626 MB    Passed
Checking swap space: must be greater than 150 MB.   Actual 4095 MB    Passed
Checking monitor: must be configured to display at least 256 colors.    Actual 16777216    Passed
Preparing to launch Oracle Universal Installer from /tmp/OraInstall2016-04-07_03-04-07PM. Please wait ...
The first few screens of the installation are very irritating, with the Oracle Universal Installer (OUI) trying to bully you into searching for security patches – I just keep saying no:

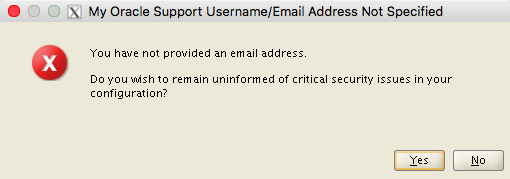
Of course, the OUI isn’t going to let that slide so easily – and now gives me an alarmist “Do you wish to remain uninformed…” popup box which I will dismiss with all the contempt it deserves:
Next I have to dissuade the OUI from trying to download updates:

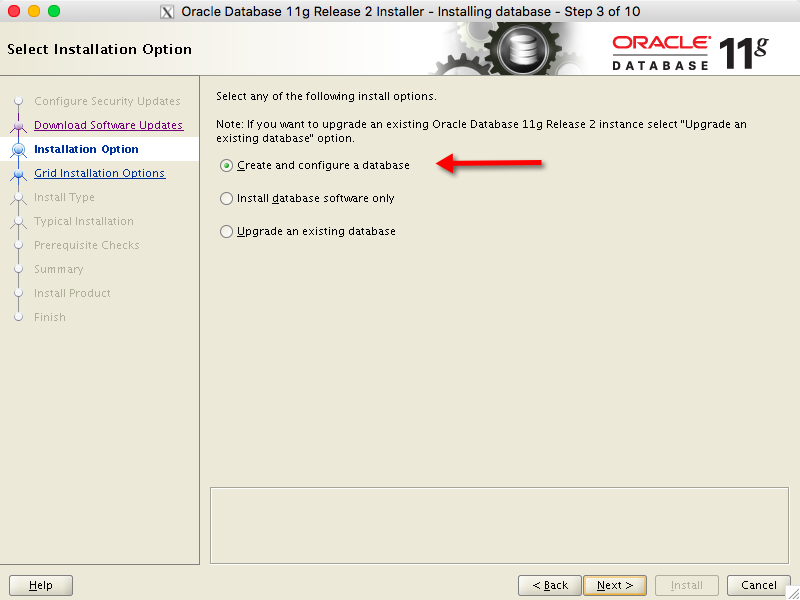
And now we can finally start the real process of installing RAC. I’m choosing the Create and configure a database option here, which means not only will the Oracle Database binaries be installed but a RAC database will be configured as part of the install. It does limit some of the options available to me, so an alternative would be to choose the Install database software only option and then create the database later on using the DataBase Configuration Assistant (DBCA)… but I’m ploughing on with this method today:
At the next screen I’m choosing the Server Class option. I’ll be honest, I’ve never chosen the Desktop Class option and have no intention of doing so: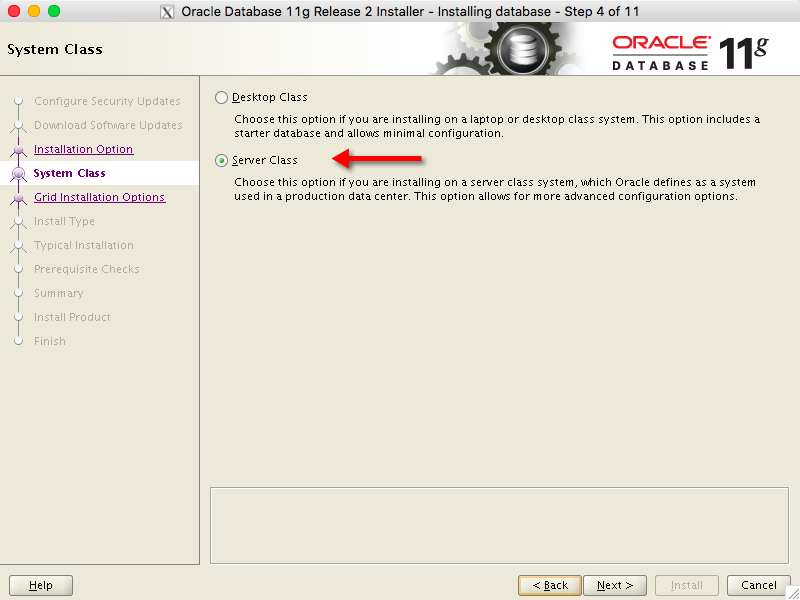
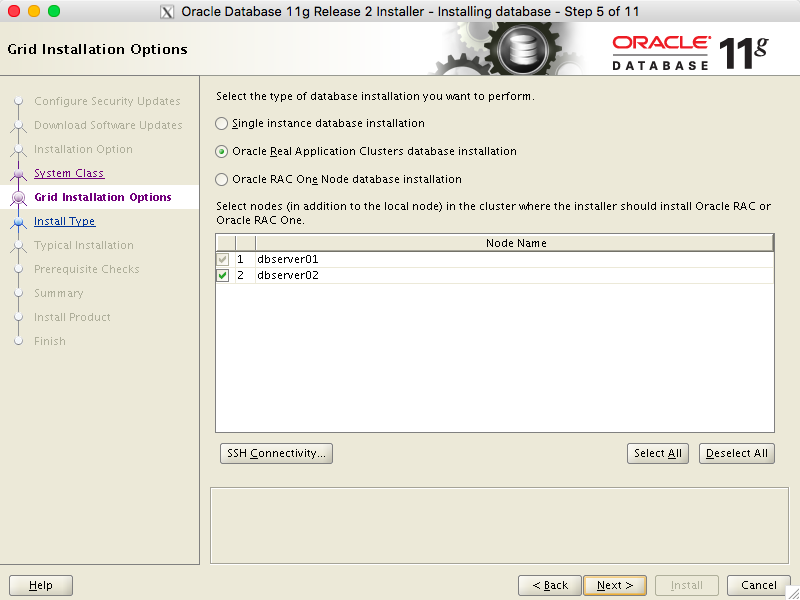
The next screen defaults to the correct options I want, i.e. that I’m installing RAC on my two nodes dbserver01 and dbserver02:
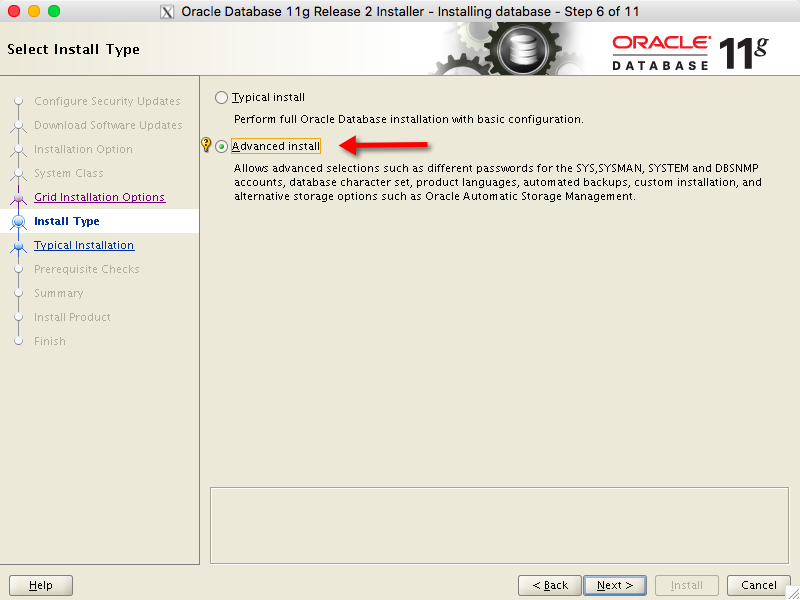
After this we have another one of those screens where I’ve only ever chosen the Advanced install option. As an experienced DBA I would find the idea of choosing Typical install insulting. Does that make me a bad person? Here goes:
At the language screen I will choose the Queen’s English – none of that ridiculous “American English” for me, thank you very much:

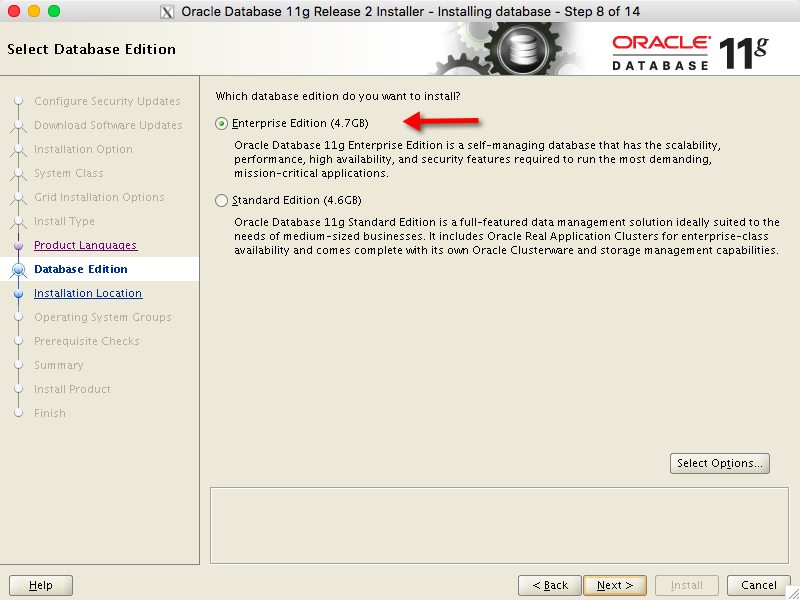
Next I’ll select the Enterprise Edition version of the database:
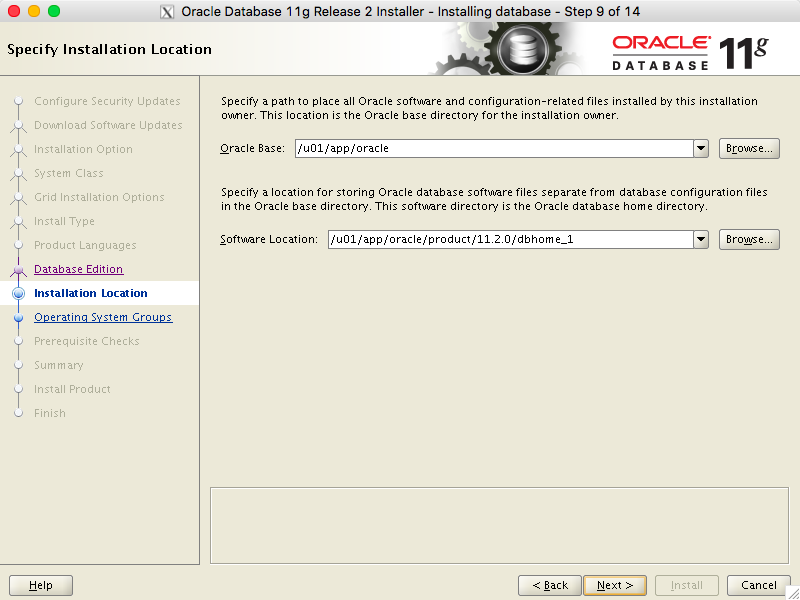
The installation locations all default to the correct choices:
The OUI offers two choices for the database it builds during the install. I’m sticking with the General Purpose option:

I’m going to stick with the default naming convention of orcl for my new database:

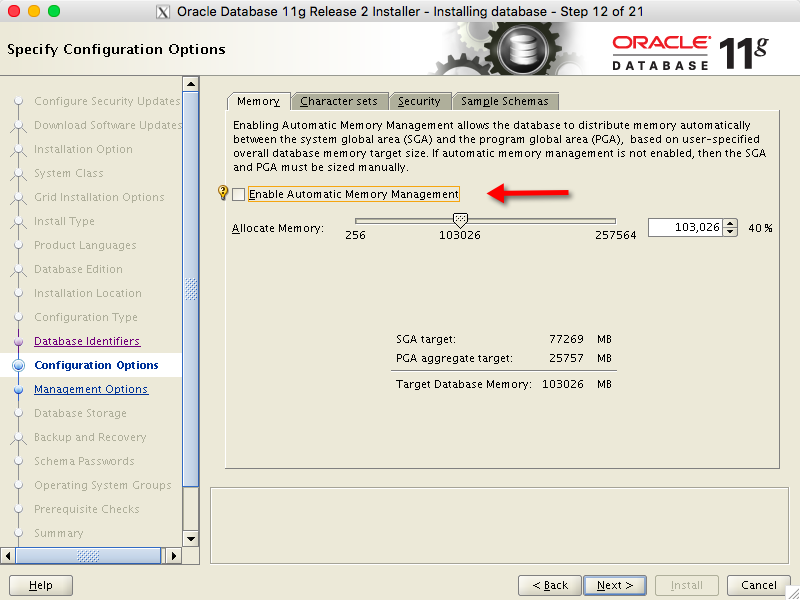
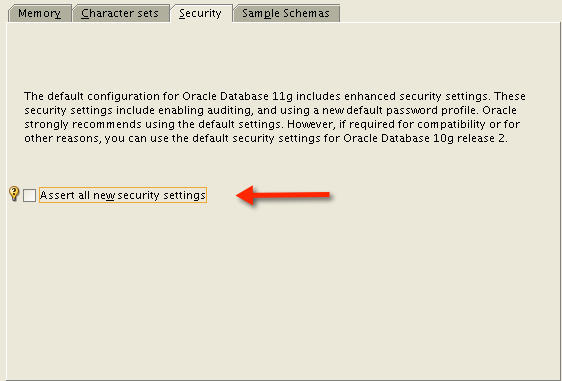
I’m also going to disable the horrid Automatic Memory Management feature. Call me old fashioned, but I like to tell my database how much memory to use and then know it’s set as a hard limit:
I’ll also move to the Security tab of that same screen and unset the “all new” security settings:
On the next screen I’ll keep the default (and only available) choice of using Enterprise Manager Database Control to manage the database:

I’m using Oracle ASM for storage – and when I installed Grid Infrastructure I had to choose a password for the ASMSNMP user. Don’t tell anybody, but I used “oracle”. I’ll put that in the relevant box on this screen:

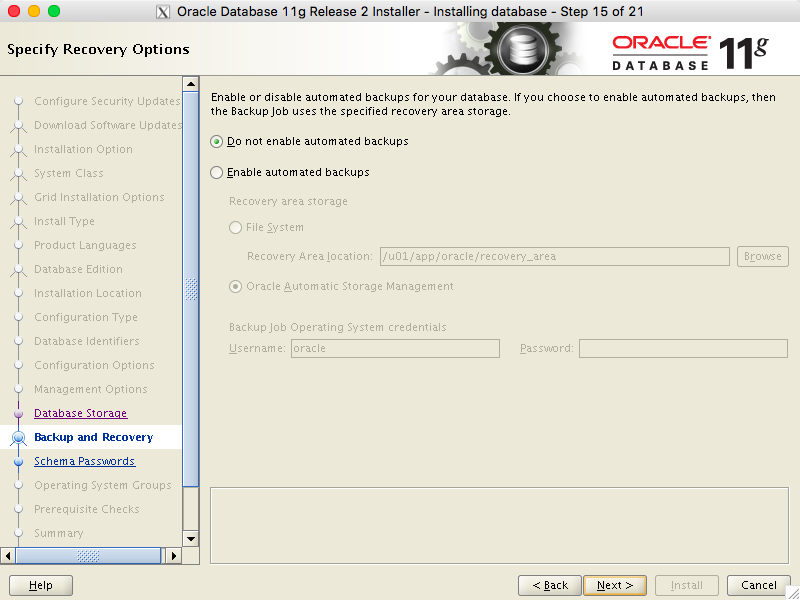
On the next screen I’ll stick with the default option not to enable automated backups:
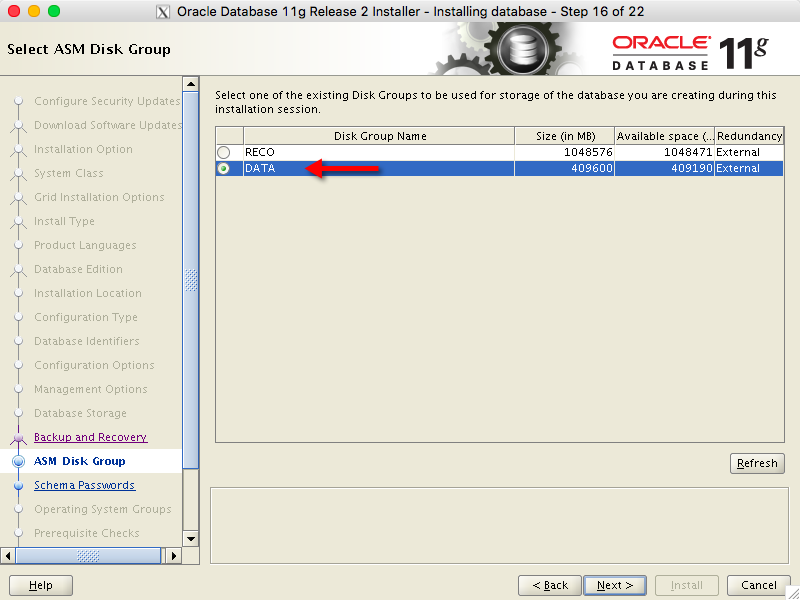
And on the following screen I’ll choose the +DATA diskgroup I created earlier on:
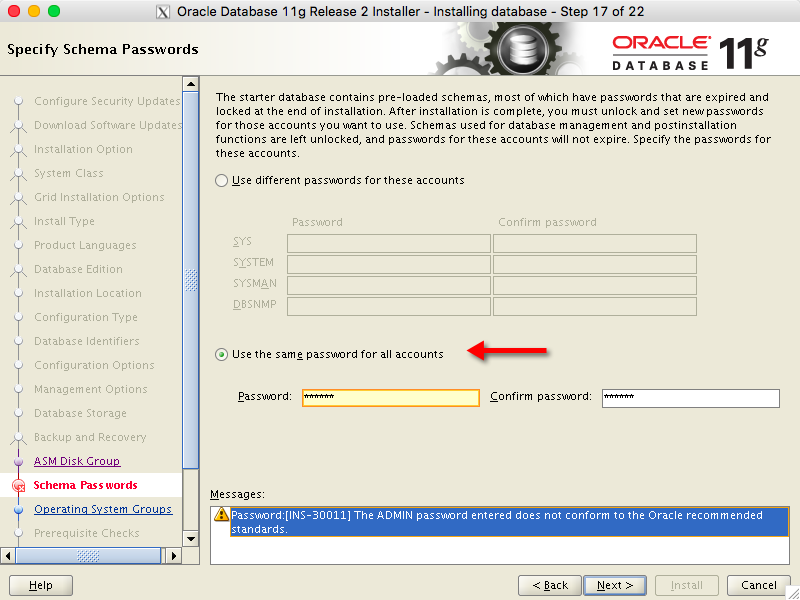
Now it’s time to set the passwords for the new database. I’m going to set them all the same (to “oracle”), which breaks every security rule possible. But at least I’m not going to plaster that password all over the internet.
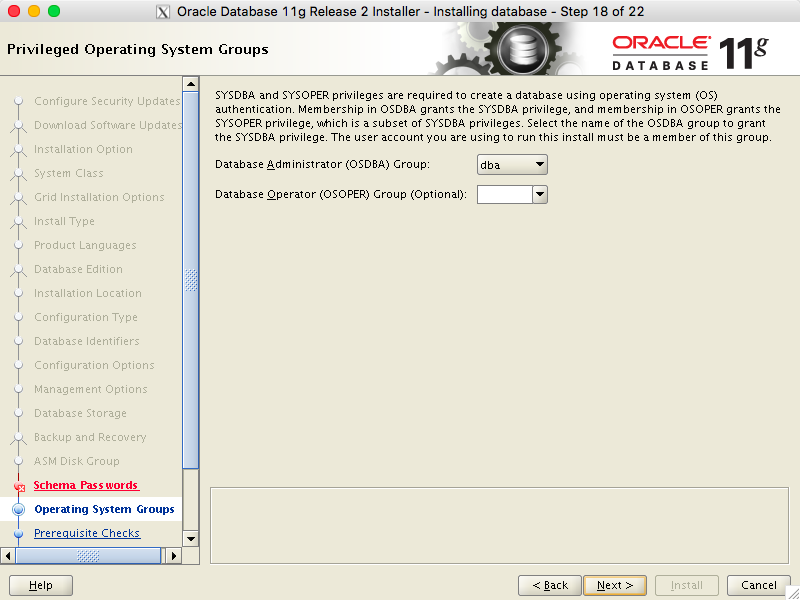
The OSDBA group is already correctly set to dba so I can just accept the default options here:
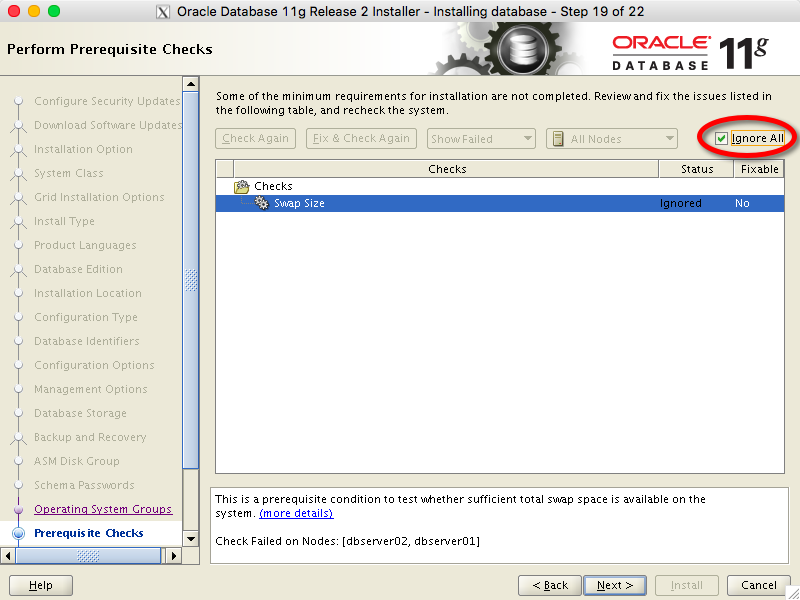
As with the Grid Infrastructure install, the OUI complains that it wants a ridiculous amount of swap space allocation, but I’m not interested and will overrule it by clicking the Ignore All button (and ignoring all subsequent warnings):
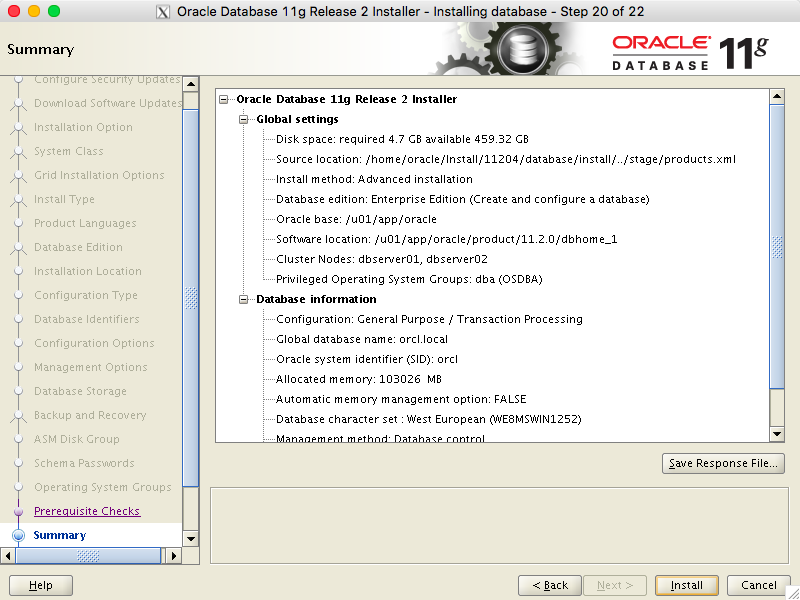
Finally we’re at the summary screen where we can being the installation:
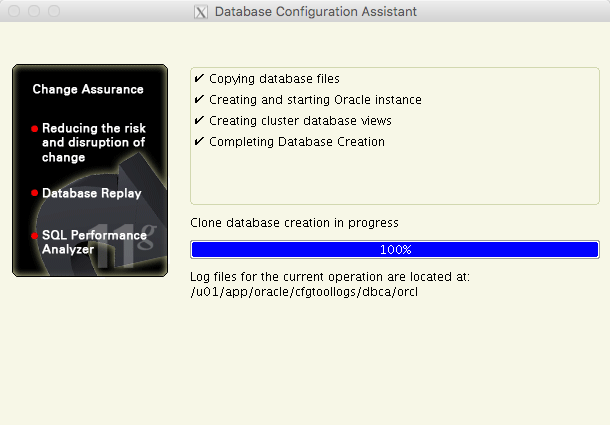
The installation progresses until eventually it pops up a new window which runs the Database Configuration Assistant:
Once that completes we get yet another window telling us that the database was created successfully:
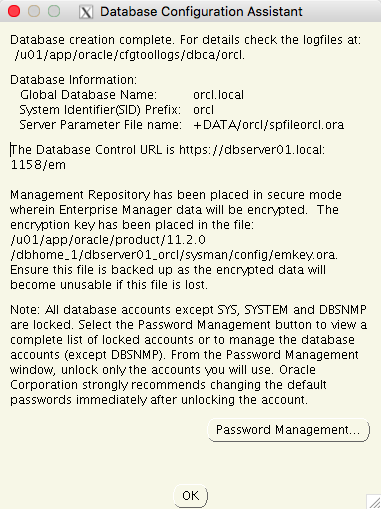
After clicking OK these two windows disappear and we are back to the OUI screen. Next up is the requirement to run the root.sh scripts:
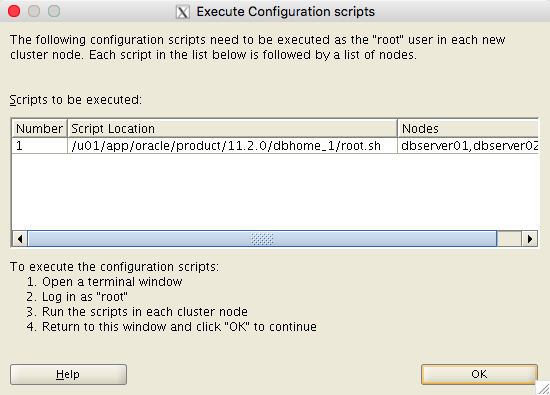
To do this I’ll open up a new window on each server, logged in as root:
[root@dbserver01 ~]# sh /u01/app/oracle/product/11.2.0/dbhome_1/root.sh
Performing root user operation for Oracle 11g

The following environment variables are set as:
    ORACLE_OWNER= oracle
    ORACLE_HOME=  /u01/app/oracle/product/11.2.0/dbhome_1

Enter the full pathname of the local bin directory: [/usr/local/bin]:
The contents of "dbhome" have not changed. No need to overwrite.
The contents of "oraenv" have not changed. No need to overwrite.
The contents of "coraenv" have not changed. No need to overwrite.

Entries will be added to the /etc/oratab file as needed by
Database Configuration Assistant when a database is created
Finished running generic part of root script.
Now product-specific root actions will be performed.
Finished product-specific root actions.
The output from dbserver02 is identical, so I won’t paste it again. Now I can click OK on the Execute Configuration scripts window, which takes me to the final screen:

Phew! It’s all installed.
I can check that the database is up and running by setting my environment for Grid Infrastructure and then running the crsctl command again – this time there will be a resource called ora.orcl.db:
[oracle@dbserver01 ~]$ . oraenv
ORACLE_SID = [oracle] ? +ASM1
The Oracle base has been set to /u01/app/oracle
[oracle@dbserver01 ~]$ crsctl stat res -t
--------------------------------------------------------------------------------
NAME           TARGET  STATE        SERVER                   STATE_DETAILS
--------------------------------------------------------------------------------
Local Resources
--------------------------------------------------------------------------------
ora.DATA.dg
               ONLINE  ONLINE       dbserver01
               ONLINE  ONLINE       dbserver02
ora.LISTENER.lsnr
               ONLINE  ONLINE       dbserver01
               ONLINE  ONLINE       dbserver02
ora.RECO.dg
               ONLINE  ONLINE       dbserver01
               ONLINE  ONLINE       dbserver02
ora.asm
               ONLINE  ONLINE       dbserver01               Started
               ONLINE  ONLINE       dbserver02               Started
ora.gsd
               OFFLINE OFFLINE      dbserver01
               OFFLINE OFFLINE      dbserver02
ora.net1.network
               ONLINE  ONLINE       dbserver01
               ONLINE  ONLINE       dbserver02
ora.ons
               ONLINE  ONLINE       dbserver01
               ONLINE  ONLINE       dbserver02
--------------------------------------------------------------------------------
Cluster Resources
--------------------------------------------------------------------------------
ora.LISTENER_SCAN1.lsnr
      1        ONLINE  ONLINE       dbserver02
ora.LISTENER_SCAN2.lsnr
      1        ONLINE  ONLINE       dbserver01
ora.LISTENER_SCAN3.lsnr
      1        ONLINE  ONLINE       dbserver01
ora.cvu
      1        ONLINE  ONLINE       dbserver01
ora.dbserver01.vip
      1        ONLINE  ONLINE       dbserver01
ora.dbserver02.vip
      1        ONLINE  ONLINE       dbserver02
ora.oc4j
      1        ONLINE  ONLINE       dbserver01
ora.orcl.db
      1        ONLINE  ONLINE       dbserver01               Open
      2        ONLINE  ONLINE       dbserver02               Open
ora.scan1.vip
      1        ONLINE  ONLINE       dbserver02
ora.scan2.vip
      1        ONLINE  ONLINE       dbserver01
ora.scan3.vip
      1        ONLINE  ONLINE       dbserver01
There it is.
Alternatively I could actually log in to SQL*Plus. First of all I need to set the environment again – but a little irritation here is that the OUI has added an entry in to my /etc/oratab file for orcl while the instance running on this node is actually orcl1. This means I need to manually set the ORACLE_SID variable, or alternatively add a second entry in /etc/oratab for orcl1.
Here’s the manual override method:
[oracle@dbserver01 ~]$ . oraenv
ORACLE_SID = [+ASM1] ? orcl
The Oracle base remains unchanged with value /u01/app/oracle
[oracle@dbserver01 ~]$ export ORACLE_SID=orcl1
[oracle@dbserver01 ~]$ sqlplus / as sysdba

SQL*Plus: Release 11.2.0.4.0 Production on Thu Apr 7 17:01:44 2016
Copyright (c) 1982, 2013, Oracle.  All rights reserved.

Connected to:
Oracle Database 11g Enterprise Edition Release 11.2.0.4.0 - 64bit Production
With the Partitioning, Real Application Clusters, Automatic Storage Management, OLAP,
Data Mining and Real Application Testing options

SQL> set lines 200
SQL> column host_name format a12
SQL> select instance_number, instance_name, host_name, version, status from gv$instance;

INSTANCE_NUMBER INSTANCE_NAME	 HOST_NAME    VERSION		STATUS
--------------- ---------------- ------------ ----------------- ------------
	      1 orcl1		 dbserver01   11.2.0.4.0	OPEN
	      2 orcl2		 dbserver02   11.2.0.4.0	OPEN
That’s it for this installation – except to express my disbelief that it takes 26 different screenshots to document this install. It’s not a very streamlined process is it?
